Anúncios
Learning to sew opens up a world of creativity, self-expression, and practical skills that can last a lifetime. Whether you’re looking to mend clothes, create unique garments, or start a new hobby, sewing is surprisingly accessible.


Many people think sewing requires years of training or expensive equipment, but the truth is much simpler. With just a few basic tools, some patience, and the right guidance, anyone can start creating beautiful stitched projects within days. The journey from complete beginner to confident sewer is shorter than you might imagine.
Anúncios
In this comprehensive guide, we’ll walk you through everything you need to know to begin your sewing adventure. From selecting your first tools to mastering essential techniques, you’ll discover that sewing is both rewarding and surprisingly straightforward. Let’s explore how you can transform fabric into something wonderful with your own hands. ✂️
Why Learning to Sew Is Worth Your Time
Sewing offers benefits that extend far beyond simply creating clothes. It’s a skill that combines creativity with practicality, giving you the power to customize your wardrobe, save money, and reduce waste. In an era of fast fashion, knowing how to sew means you can repair items instead of discarding them, contributing to a more sustainable lifestyle.
Anúncios
The mental health benefits are equally impressive. Sewing is meditative, helping to reduce stress and anxiety while improving focus and hand-eye coordination. Many sewers describe entering a “flow state” during their projects, where time seems to disappear and worries fade away. Plus, the satisfaction of wearing something you’ve made yourself is truly unmatched.
From a financial perspective, sewing can be incredibly economical. Once you’ve invested in basic equipment, you can create custom pieces for a fraction of retail prices. You’ll also develop the ability to alter existing clothes for the perfect fit, extending the life of your wardrobe significantly.
Essential Tools Every Beginner Needs 🧵
Before you start stitching, you’ll need to gather some fundamental tools. The good news is that you don’t need to break the bank—basic sewing can begin with just a handful of items. Here’s what every beginner should have in their sewing kit:
- Needles: Start with a variety pack of hand-sewing needles in different sizes. For machine sewing, universal needles work well for most fabrics.
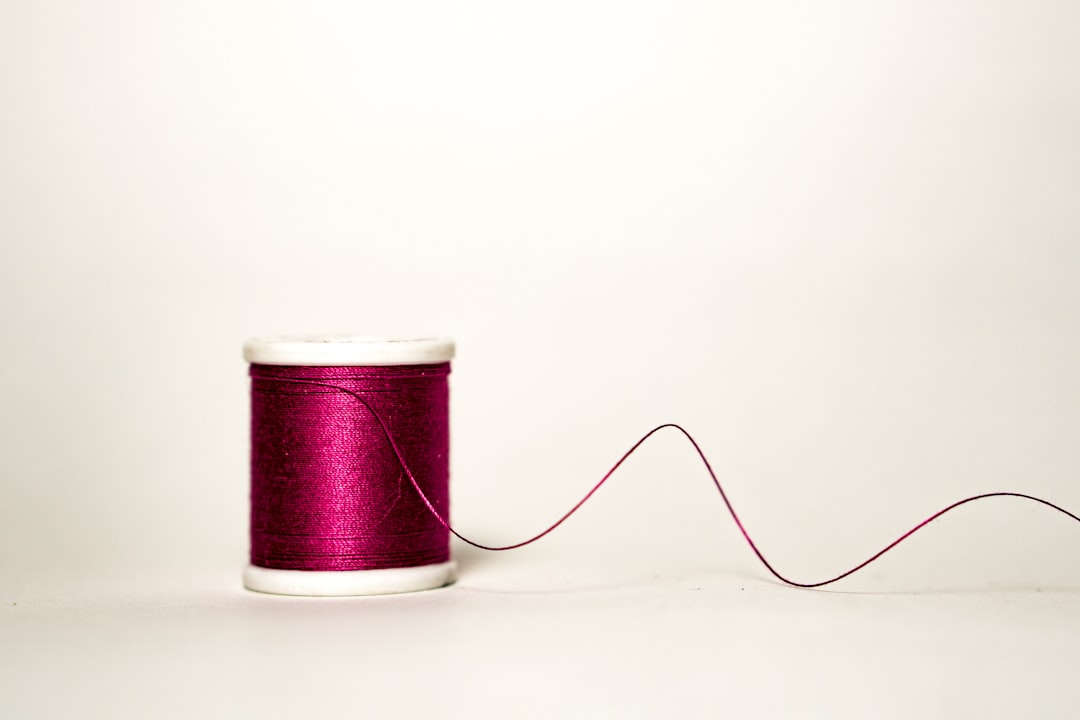
- Thread: Invest in quality polyester or cotton thread in neutral colors like white, black, and gray. These will cover most projects initially.
- Fabric scissors: Sharp scissors dedicated only to fabric are essential. Never use them on paper, as this dulls the blades quickly.
- Pins and pincushion: Straight pins hold fabric pieces together before stitching. A magnetic pincushion makes pickup easy.
- Measuring tape: A flexible measuring tape is crucial for taking accurate measurements and ensuring proper dimensions.
- Seam ripper: This small tool removes stitches when mistakes happen—and they will! It’s your best friend when learning.
- Iron and ironing board: Pressing seams as you sew makes a dramatic difference in the quality of your finished projects.
You might be wondering whether to start with hand sewing or invest in a sewing machine right away. Hand sewing is perfectly adequate for learning basic stitches and completing small projects, but a machine significantly speeds up the process. If budget allows, consider a basic mechanical sewing machine—they’re reliable, straightforward, and much more affordable than computerized models.
Understanding Fabric: Your Canvas for Creation
Fabric selection can make or break a project, especially for beginners. Different materials behave in unique ways, and some are much more forgiving than others when you’re still learning. Cotton is universally recommended for first projects because it’s stable, easy to work with, and available in countless patterns and colors.
When shopping for fabric, you’ll encounter terms like “woven” and “knit.” Woven fabrics (like quilting cotton, denim, and linen) don’t stretch and are generally easier for beginners to handle. Knit fabrics (like jersey and rib knit) have stretch and require slightly different techniques, so save these for after you’ve mastered the basics.
Pay attention to fabric grain—the direction threads run in the material. The lengthwise grain runs parallel to the selvage (the finished edge), while the crosswise grain runs perpendicular. Cutting and sewing along the grain ensures your projects hang properly and don’t warp over time. The bias (diagonal direction) has the most stretch and is typically avoided by beginners except for specific applications like binding.

Mastering the Running Stitch: Your First Foundation
The running stitch is the most basic hand-sewing technique and forms the foundation for many other stitches. It’s simple: you weave the needle in and out of the fabric in a straight line, creating evenly spaced stitches. Despite its simplicity, a neat running stitch is surprisingly strong and versatile.
To practice, thread your needle and tie a knot at one end. Push the needle up through the fabric from the back, then back down a short distance away. Continue this up-and-down motion, trying to keep your stitches and the spaces between them roughly the same size. Aim for about 6-8 stitches per inch for general sewing.
The running stitch is perfect for basting (temporary stitching), gathering fabric, and simple seams. Once you feel comfortable with this basic technique, you’re ready to explore more advanced stitches like the backstitch, which creates stronger seams, and the slip stitch, which creates nearly invisible hems.
Threading and Operating Your Sewing Machine 🪡
If you’ve decided to use a sewing machine, learning to thread it properly is your first critical task. Each machine is slightly different, so always consult your manual, but the general process follows a similar path. Thread travels from the spool, through various tension discs and guides, down to the needle, and finally connects with the bobbin thread beneath the fabric.
The bobbin is a small spool that sits in the lower part of your machine, creating the bottom half of each stitch. Learning to wind and insert the bobbin correctly prevents many common frustration points. Take your time with these steps—rushing leads to thread jams and skipped stitches.
Before sewing on actual fabric, practice on scrap pieces. Get comfortable with the foot pedal’s sensitivity, learn how to backstitch (reversing at the beginning and end of seams to lock stitches), and experiment with different stitch lengths. Most beginners find that a stitch length of 2.5mm works well for general sewing.
Creating Straight Seams: The Building Block of Sewing
A straight seam is exactly what it sounds like—two pieces of fabric stitched together in a straight line. Most sewing projects are essentially collections of straight seams arranged in different configurations. Mastering this fundamental skill means you can tackle countless projects with confidence.
Start by placing two fabric pieces together with their “right sides” (the prettier, printed side) facing each other. Pin along the edge where you’ll sew, inserting pins perpendicular to the edge so you can sew right over them (carefully!) or remove them just before the needle reaches them.
Most patterns call for a specific seam allowance—usually 5/8 inch (about 1.5cm) from the fabric edge. Your machine’s throat plate often has markings to help guide your fabric edge and maintain consistent seam allowances. Keep your eyes on these guides rather than the needle itself, and let the machine feed the fabric at its own pace without pulling or pushing.
Pressing Matters: Why Your Iron Is as Important as Your Needle
Many beginners underestimate the transformative power of proper pressing. The difference between amateur-looking and professional-looking sewing often comes down to pressing techniques. “Pressing” differs from regular ironing—instead of sliding the iron back and forth, you lift and press it down on seams, avoiding distortion.
After sewing each seam, press it flat first (exactly as sewn), then press it open (seam allowances spread to either side) or to one side, depending on your project requirements. This sets the stitches and creates crisp, flat seams that are easier to work with in subsequent steps.
Always use the appropriate temperature for your fabric. Cotton handles high heat beautifully, while synthetics can melt. When in doubt, test on a scrap piece first. Steam helps create sharp creases and removes wrinkles, but too much moisture can cause shrinkage in some fabrics, so exercise moderation.
Simple Projects to Build Your Confidence 🎨
Starting with achievable projects prevents frustration and builds momentum. A simple drawstring bag is an excellent first project—it’s useful, requires only basic straight seams, and introduces you to creating casings for drawstrings. You’ll practice measuring, cutting, sewing straight lines, and finishing edges.
Pillowcases are another beginner-friendly option. They’re essentially three seams forming a tube with one end closed, yet they feel substantial when completed. You can gift them, use them yourself, and feel the satisfaction of creating something genuinely useful in just an hour or two.
As you progress, try an elastic-waist skirt or simple pajama pants. These projects introduce you to working with patterns, sewing curves, and creating waistbands. Each completed project teaches new techniques while reinforcing skills you’ve already learned, creating a solid foundation for more complex work.
Reading Patterns: Decoding the Sewing Language
Sewing patterns can look intimidating with their symbols, abbreviations, and multi-size layouts, but they’re simply detailed instructions written in a specialized shorthand. Learning to read patterns opens up unlimited project possibilities, from clothing to home décor.
Patterns typically include several components: the envelope with project images and sizing information, instruction sheets with step-by-step directions, and tissue paper pattern pieces with markings. Those mysterious notches, dots, and lines all serve specific purposes—notches indicate where pieces align, dots mark placement for details, and lines show cutting lines, seam lines, and grain directions.
Start with patterns labeled “easy” or “beginner.” These usually have fewer pieces, simpler construction, and more detailed instructions. As you gain experience, you’ll find yourself understanding pattern terminology naturally, and the symbols that once confused you will become second nature.
Common Mistakes and How to Fix Them 🔧
Every sewer makes mistakes—it’s part of the learning process. The key is recognizing problems early and knowing how to address them. Puckered seams usually indicate tension issues; check your upper thread tension and ensure the bobbin is inserted correctly. Skipped stitches often mean your needle is dull or the wrong type for your fabric.
If your fabric doesn’t feed smoothly, check your presser foot pressure. Too much pressure can cause thick fabrics to stick; too little allows thin fabrics to slip. Breaking thread typically signals that your needle is too small for your thread thickness, or your thread path has a snag somewhere.
Remember that seam ripper we mentioned earlier? Don’t be afraid to use it. Removing and re-sewing a wonky seam takes less time than you’d think and dramatically improves your finished product. Professional sewers unpick stitches regularly—it’s not failure, it’s refinement.
Building Speed Without Sacrificing Quality
New sewers often worry about working too slowly, but speed develops naturally with practice. Focusing on accuracy first ensures good habits that eventually become automatic. As muscle memory develops, your hands will guide fabric smoothly, your seam allowances will become consistent, and your overall pace will increase without conscious effort.
That said, you can work more efficiently by organizing your workspace thoughtfully. Keep frequently used tools within easy reach, cut all pieces before you start sewing, and press as you go rather than leaving all pressing until the end. These workflow optimizations save significant time without rushing the actual sewing.
Set up an assembly line approach for repetitive tasks. If you’re making multiple items or a project with many identical pieces, complete all of one step for every piece before moving to the next step. This batching technique is much faster than completing one item entirely before starting the next.
Maintaining Your Equipment for Long-Term Success
Taking care of your sewing tools ensures they serve you well for years. Fabric scissors should be sharpened regularly and never used on paper. Store pins and needles in dry conditions to prevent rust. Clean your sewing machine after every few projects by removing lint from the bobbin area and around the feed dogs with a small brush.
Change your machine needle frequently—a dull needle causes numerous problems that seem mysterious until you replace it and everything works perfectly again. Many experts recommend a new needle for every project or after 8 hours of sewing, whichever comes first.
Oil your machine according to the manufacturer’s recommendations. Some modern machines are self-lubricating, while others need regular oiling to run smoothly. Check your manual for specifics, and consider an annual professional servicing if you sew frequently.
Joining the Sewing Community for Continued Growth 🌟
Sewing doesn’t have to be a solitary activity. Local fabric stores often host classes and sewing circles where you can learn from experienced sewers and troubleshoot problems together. These communities provide motivation, inspiration, and practical help when you’re stuck.
Online communities are equally valuable. Social media groups, forums, and video platforms offer endless tutorials, pattern reviews, and technique demonstrations. You can ask questions, share your makes, and celebrate successes with people worldwide who share your passion.
Consider documenting your own sewing journey. Keeping a project journal or sharing photos of your creations helps you track progress and provides a wonderful record of skill development. Looking back at early projects months later shows just how much you’ve learned and encourages you to tackle more challenging techniques.
Taking Your Skills to the Next Level
Once you’re comfortable with basics, the sewing world expands dramatically. You might explore garment fitting, learning how to adjust patterns for your unique body measurements. Tailoring techniques like installing invisible zippers, creating bound buttonholes, and working with linings add professional finishes to your projects.
Specialty areas like quilting, embroidery, or working with specialty fabrics (leather, vinyl, stretch fabrics) each offer new challenges and creative possibilities. You might discover a particular passion that becomes your focus, or you might enjoy sampling various techniques and keeping your skills broad.
Advanced sewers often develop signature styles or specializations—perhaps historical costume construction, sustainable fashion design, or creating heirloom pieces for children. These focused interests deepen skills and often lead to opportunities to teach others, sell creations, or participate in shows and competitions.
The Sustainable and Economic Benefits of Sewing
Beyond personal satisfaction, sewing contributes positively to environmental sustainability. By creating your own clothes, you reduce dependence on fast fashion, which is one of the world’s most polluting industries. Repairing and altering existing garments prevents perfectly good items from entering landfills prematurely.
Economically, sewing skills save substantial money over time. Hemming pants costs $10-20 at a tailor, but takes you minutes once you know how. Custom curtains from a decorator can cost hundreds; making them yourself requires only fabric and a few hours. As your skills grow, so do your savings.
Many sewers eventually turn their hobby into supplementary income by selling creations, taking on alterations work, or teaching others. While not everyone wants to monetize their sewing, it’s reassuring to know the option exists. At minimum, your ability to create thoughtful, personalized gifts saves money while providing more meaningful presents than mass-produced items.

Your Sewing Journey Starts Now ✨
Learning to sew is genuinely achievable in just a few focused steps. You don’t need years of training, expensive equipment, or innate talent—just curiosity, patience, and willingness to practice. Every expert sewer once sat exactly where you are now, threading a needle for the first time and wondering if they could really do this.
The answer, as you’ll soon discover, is absolutely yes. Start with simple projects that build confidence. Celebrate small victories, like your first straight seam or completed pillowcase. Don’t compare your beginning to someone else’s middle—focus on your own progress and enjoyment.
Sewing offers lifelong learning opportunities. Even after decades, experienced sewers continue discovering new techniques, fabrics, and approaches. This journey never truly ends, which is part of its enduring appeal. There’s always something new to try, always another skill to master.
So gather those basic tools, choose a simple first project, and take that first stitch. The creative, practical, sustainable world of sewing is waiting for you. With each project, your confidence will grow, your skills will sharpen, and you’ll wonder why you didn’t start sooner. Welcome to the wonderful world of sewing—your transformation from curious beginner to capable creator begins today! 🧵✂️
